
How to Use SOCKS5 on Android: Setup and Test Guide

Aug 20, 2026 · Guides · 10 min read
TL;DR
Android does not expose a native, system-wide SOCKS5 field in its standard Wi-Fi proxy screen. The practical no-root method is to use a trusted proxy client that creates a local Android VPN interface, add the SOCKS5 host, port, and credentials, approve the connection, and then verify the public IP and DNS path. This guide uses Super Proxy as a reproducible example and explains the limits that matter before publication.
To use SOCKS5 on Android without root access, install a trusted SOCKS5 client, create a profile with your server address, port, username, and password, and approve Android’s VPN connection request. Then confirm that the public IP has changed and test the apps you actually plan to use.
This method is necessary because Android’s standard Wi-Fi proxy screen is designed around HTTP proxy settings, not a device-wide SOCKS5 field. A dedicated socks 5 configurator can use Android’s local VPN framework to capture traffic and forward it to a socks 5 proxy. That VPN key icon shows that the client has permission to route traffic; it does not mean that SOCKS5 itself encrypts the connection.
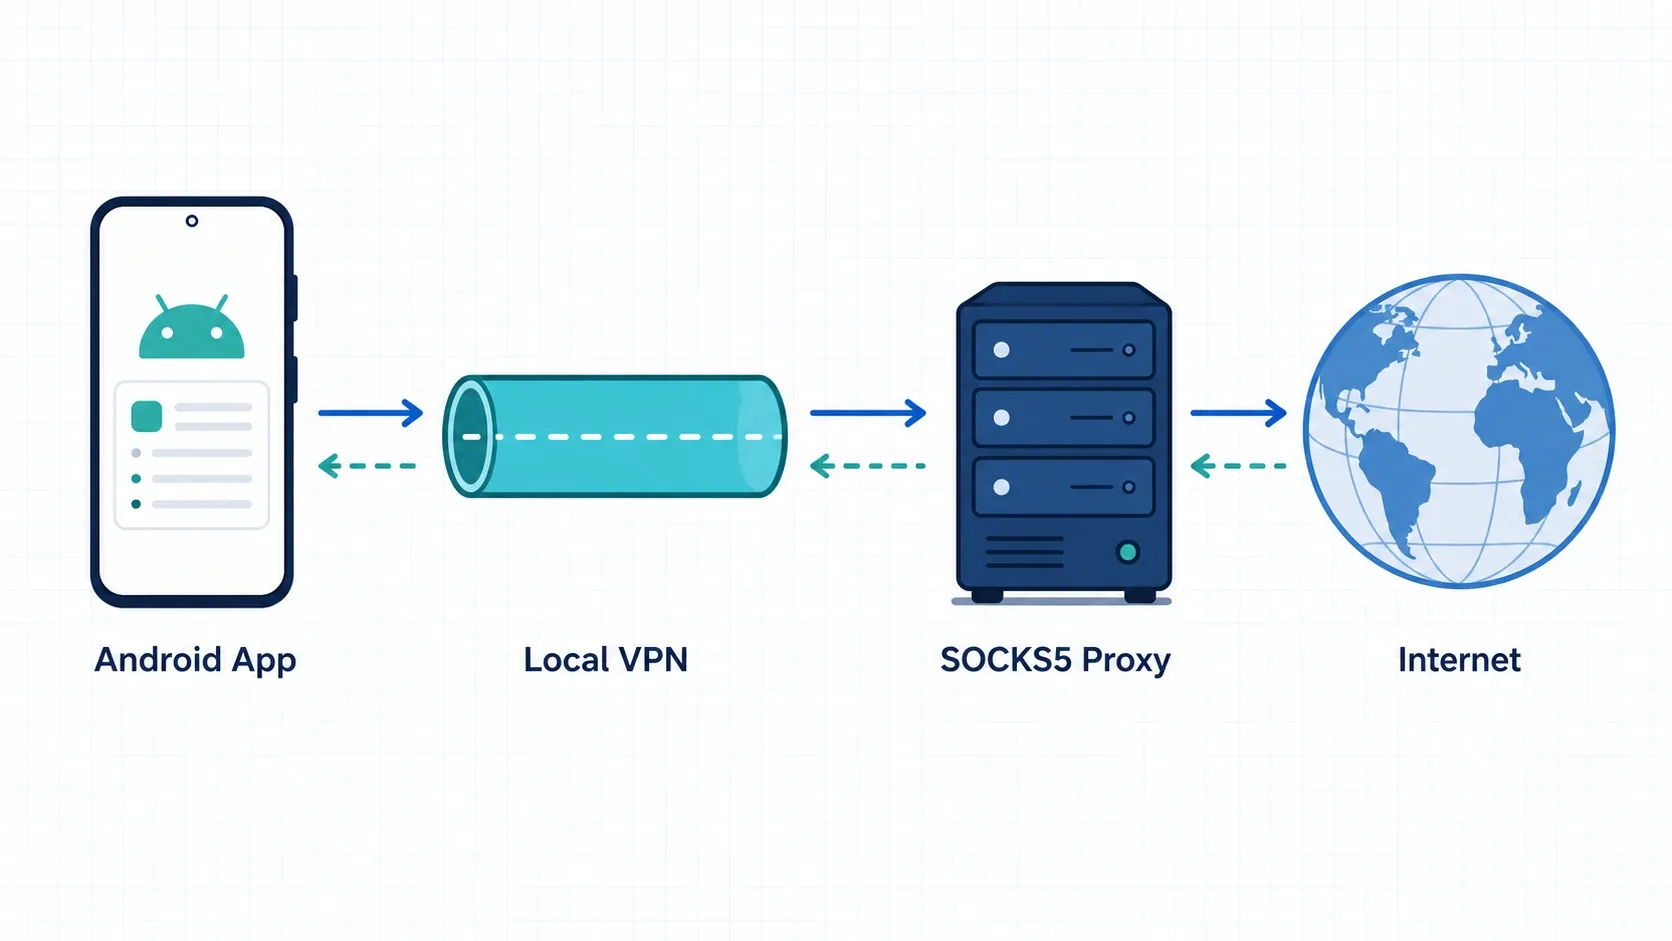
Important: A SOCKS5 proxy changes the network route and visible source IP. SOCKS5 does not provide VPN-style encryption by itself. Continue using HTTPS and never send secrets through untrusted endpoints.
What You Need Before Starting
Prepare the values below before opening the Android client. Copy each value separately instead of pasting a complete proxy URL into one field.
| Field | What it means | Example only |
|---|---|---|
| Server or host | Proxy hostname or IP address | proxy.example.net |
| Port | Provider-assigned connection port | 1080 |
| Protocol | Proxy protocol selected in the client | SOCKS5 |
| Username | Login or routing username | demo-user |
| Password | Proxy password | example-password |
If you use Rola IP, start with its proxy quick start to locate the endpoint and login fields. Do not add country, city, rotation, or session components until the basic profile connects. The proxy parameters page is the appropriate reference when you later need location or session controls.
You also need:
- An Android phone or tablet with Google Play access.
- A working Wi-Fi or mobile-data connection.
- Permission to install a proxy client and approve a VPN connection.
- No other active VPN service during the initial test.
- An IP-check page and a DNS test page for verification.
Why Android Needs a SOCKS5 Client
Android’s Wi-Fi proxy menu is not a native system-wide SOCKS5 configuration panel. Depending on the manufacturer and Android version, it normally exposes an HTTP proxy hostname, port, bypass list, or PAC URL. Entering SOCKS5 credentials there as if they were HTTP settings can produce authentication errors or no routing change.
A no-root proxy client solves this limitation with Android’s VpnService API. The app creates a local virtual network interface, receives selected device traffic, and forwards that traffic to the configured proxy. Android displays a permission dialog because only one app can hold the active VPN service at a time.
This distinction affects coverage:
| Method | SOCKS5 support | Typical traffic scope | Main limitation |
|---|---|---|---|
| Android Wi-Fi proxy setting | No dedicated SOCKS5 option | Apps that honor the HTTP proxy | Per-network and often ignored by non-HTTP apps |
SOCKS5 client using VpnService |
Yes | Device-wide or app-filtered, depending on the client | Conflicts with another active VPN service |
| Proxy setting inside one app | Only if that app supports it | That app only | Must be configured separately in every app |
| Root-level routing | Possible | Broad system control | Higher security and maintenance risk; not covered here |
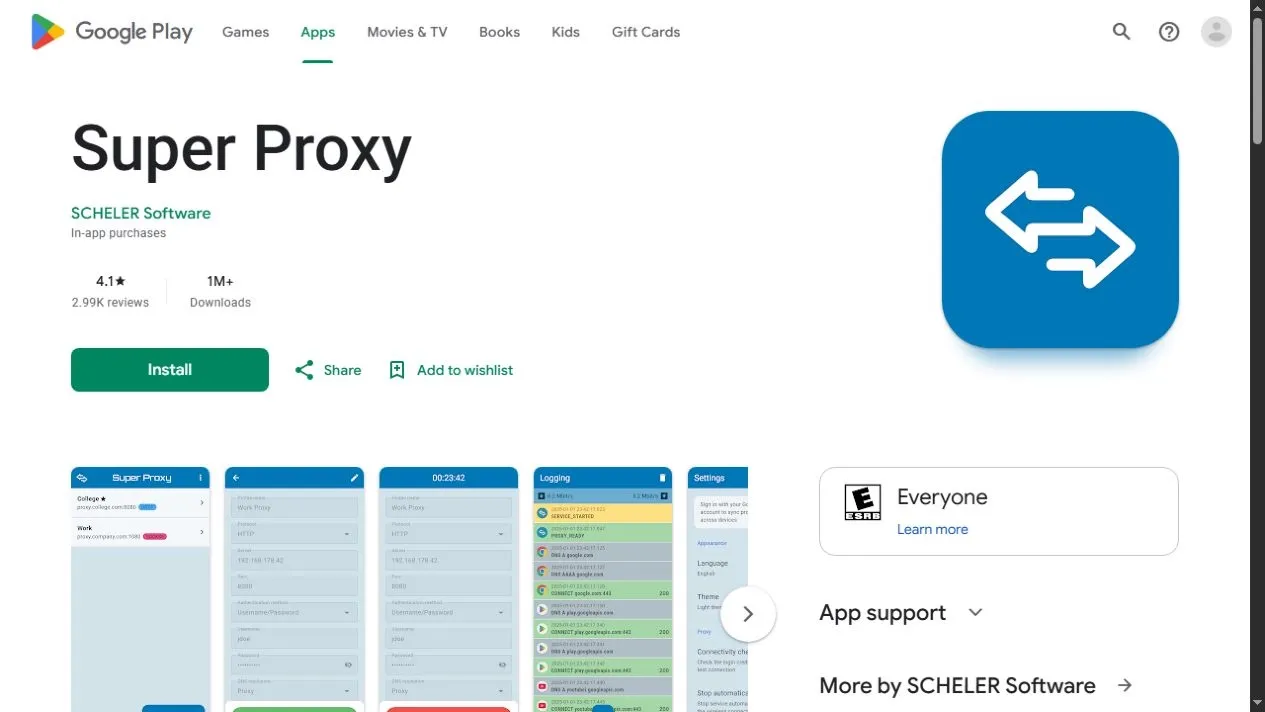
The steps below use Super Proxy by SCHELER Software because its current Google Play listing identifies SOCKS5 support and a no-root, local-VPN implementation. App interfaces and privacy disclosures can change, so confirm the developer name, update date, permissions, and Data safety section before installing.
How to Use SOCKS5 on Android with Super Proxy
The menu labels below follow the current Super Proxy workflow. Minor colors and icon positions may differ by device theme or app version.
Step 1: Install the Correct Super Proxy App
- Open Google Play Store.
- Search for Super Proxy.
- Confirm that the developer is SCHELER Software and the package is
com.scheler.superproxy. - Review the listing, recent update date, permissions, and Data safety information.
- Tap Install, then Open.
Do not sideload an APK from an unknown mirror. A proxy client can see network destinations and may handle credentials, so the source and update history matter.
Step 2: Copy Your SOCKS5 Connection Details
Open your proxy provider’s dashboard and copy the host, port, username, and password. Keep the password hidden while capturing screenshots. If the provider offers both HTTP and SOCKS5 endpoints, confirm that the selected host and port support SOCKS5.
Rola IP users can consult the Android proxy setup guide for platform-specific account details. Rola IP supports username-and-password authentication, and its product matrix includes SOCKS5-compatible options. For stable sessions, choose an endpoint that matches the intended task instead of changing locations during the test.
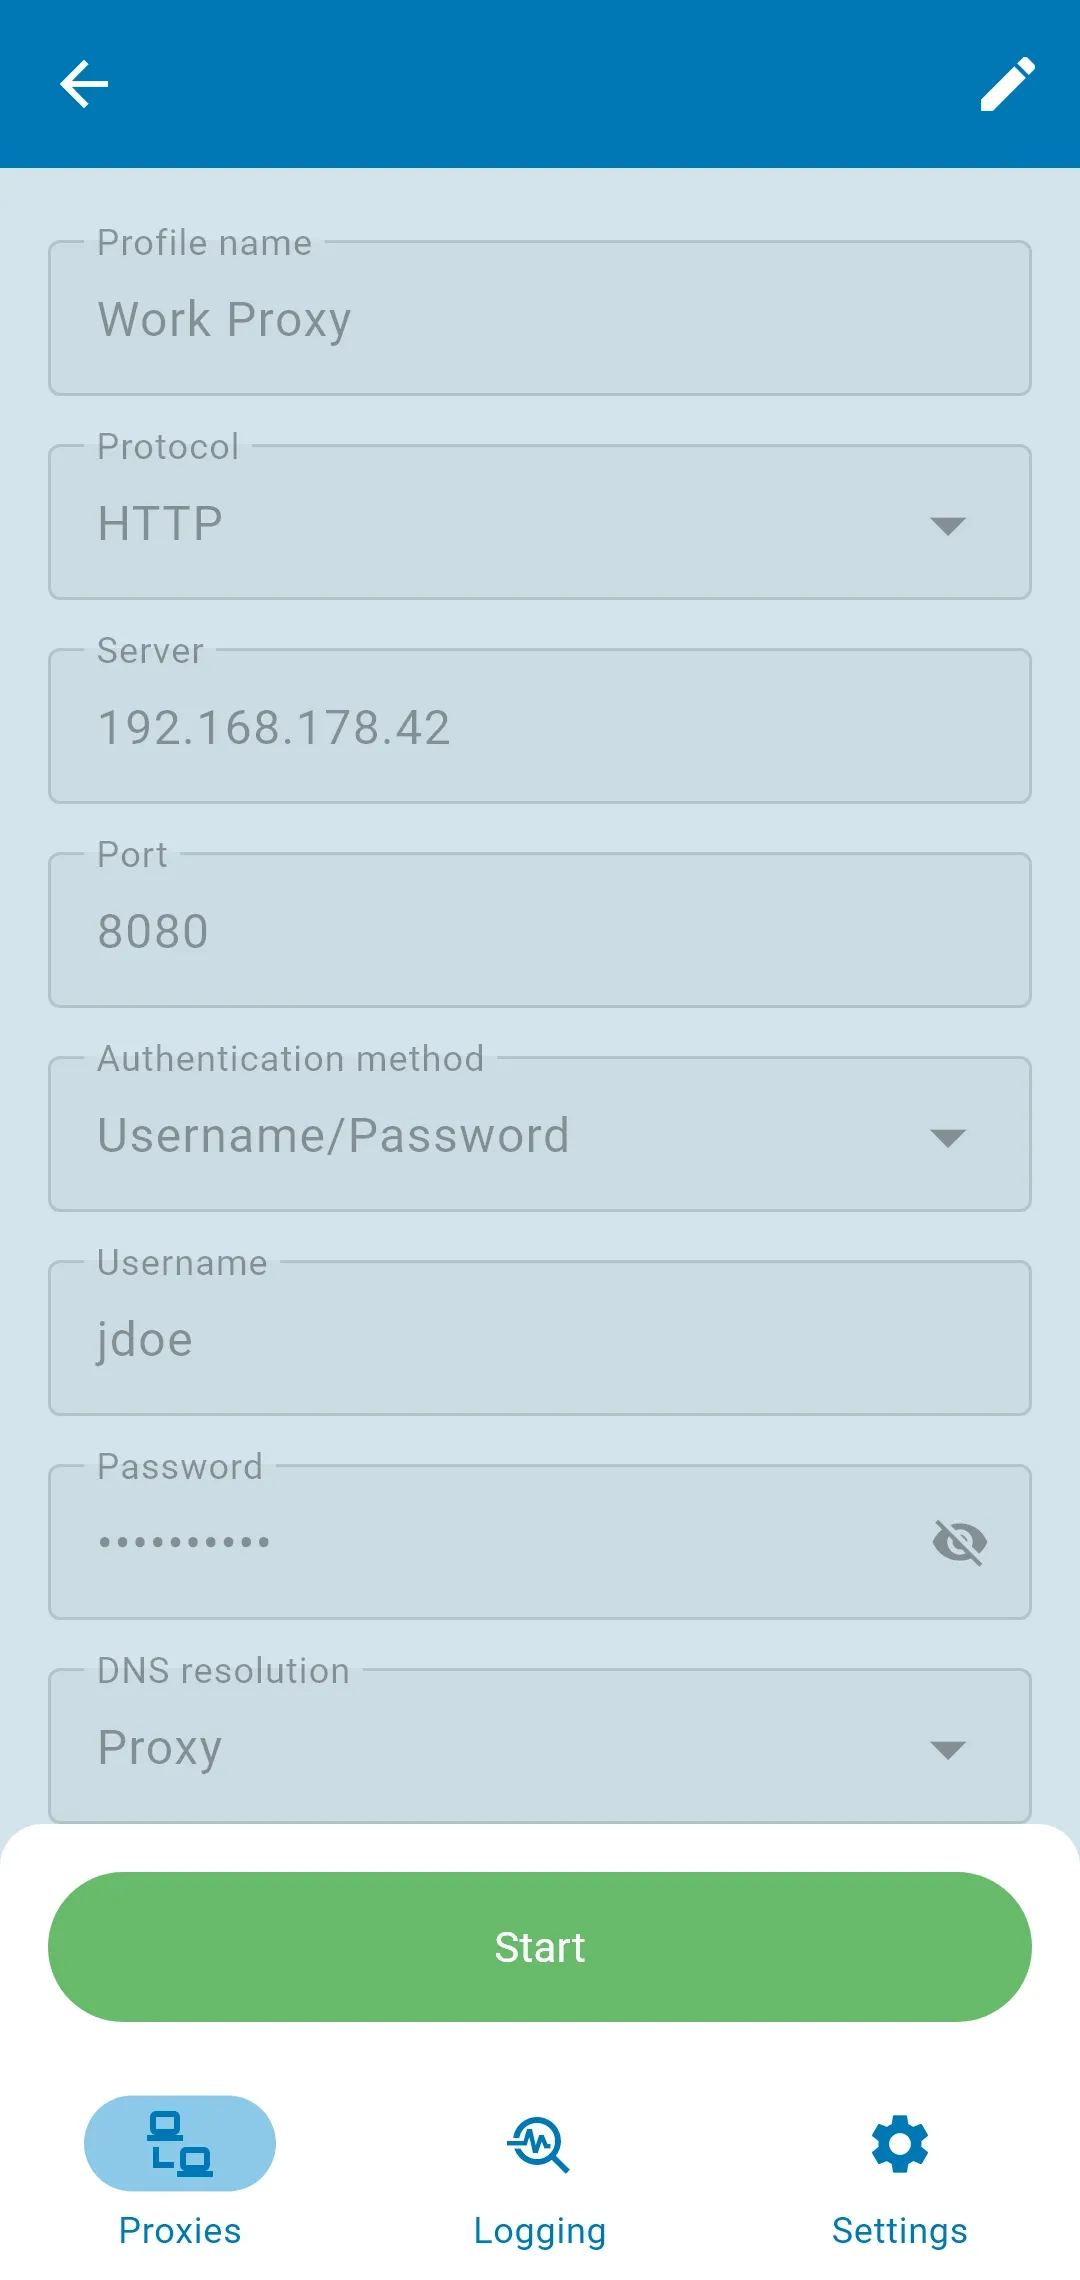
Step 3: Create a SOCKS5 Profile
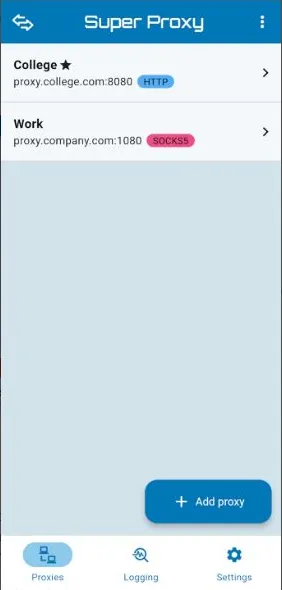
- Open Super Proxy.
- Tap the Add proxy button or plus icon.
- Enter a recognizable profile name, such as
Rola SOCKS5 - US Test. - Set Proxy type or Protocol to SOCKS5.
- Enter the server hostname in Server or Host.
- Enter the provider’s number in Port.
- Enable authentication when required.
- Enter the username and password exactly as issued.
- Tap Save.
Do not add socks5://, a path, or quotation marks unless the app explicitly requests a URL. Avoid trailing spaces from copied credentials. A correct SOCKS5 configuration maps one provider value to one app field.
Step 4: Start the Proxy and Approve Android’s VPN Request
Return to the main screen, select the new profile, and tap Start. Android should display a system dialog asking whether Super Proxy may set up a VPN connection. Tap OK or Allow only after confirming the app name.
When the connection starts, look for the app’s running timer or connected state and Android’s key or VPN indicator. If another VPN is active, Android may stop it or prevent the new service from starting. Disconnect the other VPN for this controlled test.
Step 5: Verify the Exit IP and Location
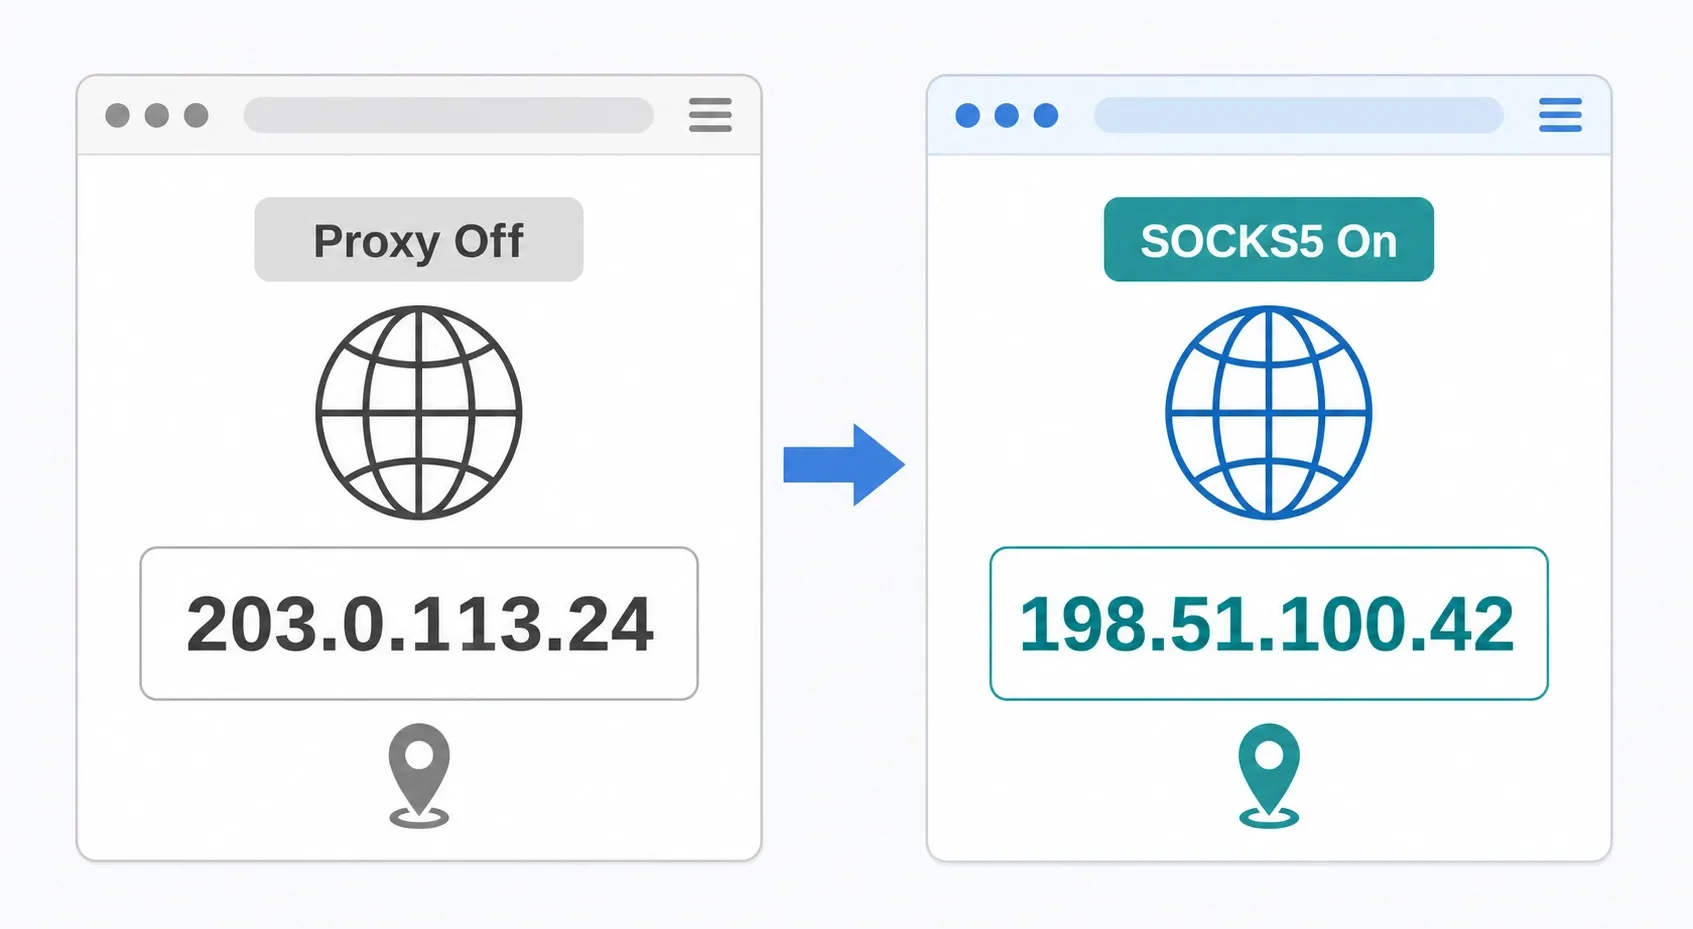
Do not treat the connected icon as proof that traffic is leaving through the proxy. Use a controlled before-and-after test:
- Stop the proxy and open an IP-check site in Chrome.
- Record the direct public IP and approximate location.
- Start Super Proxy again.
- Reload the page in a fresh tab or private window.
- Confirm that the public IP changed to the provider’s expected exit IP.
- Open a second IP-check site to rule out a stale result.
If the IP changes in Chrome, test the specific Android app you intend to use. Some clients offer an app filter or split-routing control, and an excluded app may continue using the direct connection.
For work that needs location-appropriate consumer routing, a residential proxy can provide an ISP-associated exit address. Select the endpoint type for the task and comply with the destination service’s terms; a different IP type does not grant permission to bypass access controls.
Step 6: Test DNS and the Target App
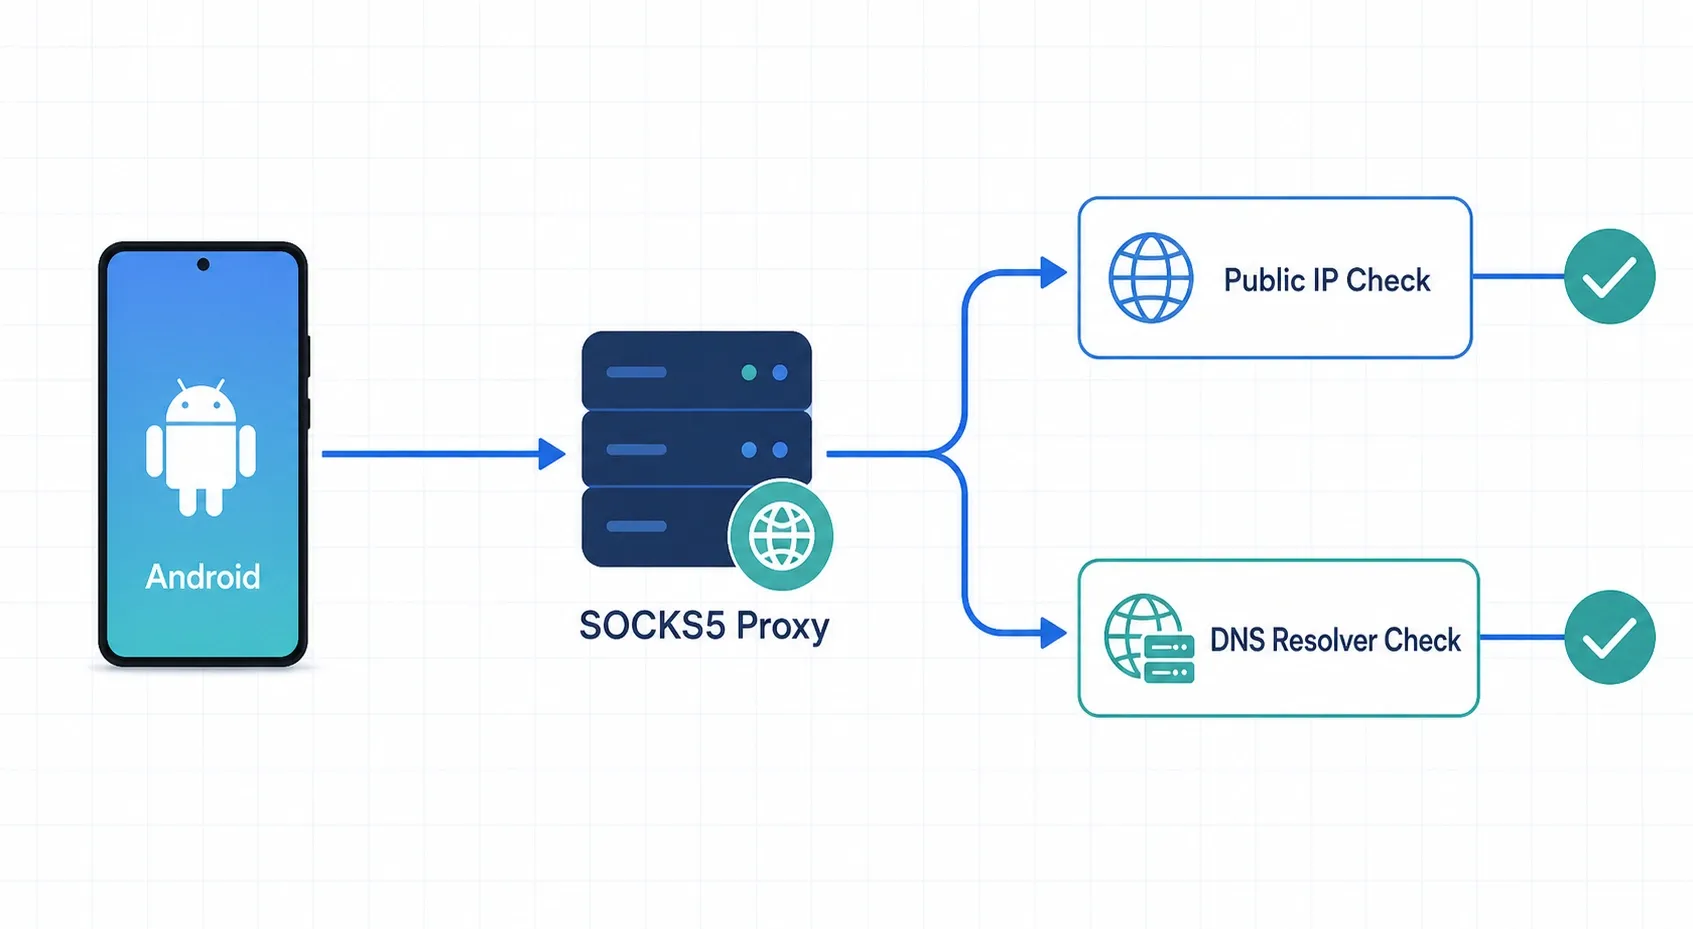
An IP change proves the web request used a different exit, but it does not prove that every protocol or DNS lookup follows the same path. Run a DNS leak test and compare the reported resolver organization and country with the expected proxy route. Then test one action in the target app, such as loading a public page.
Use this acceptance checklist:
- The proxy client remains connected for at least five minutes.
- Two IP-check pages report the expected proxy exit.
- DNS results do not unexpectedly identify the direct network’s resolver.
- The target app works while the proxy is on.
- The target app fails safely or stops routing when the proxy is deliberately disconnected, if that protection is required.
Step 7: Review Logs and Stop the Connection
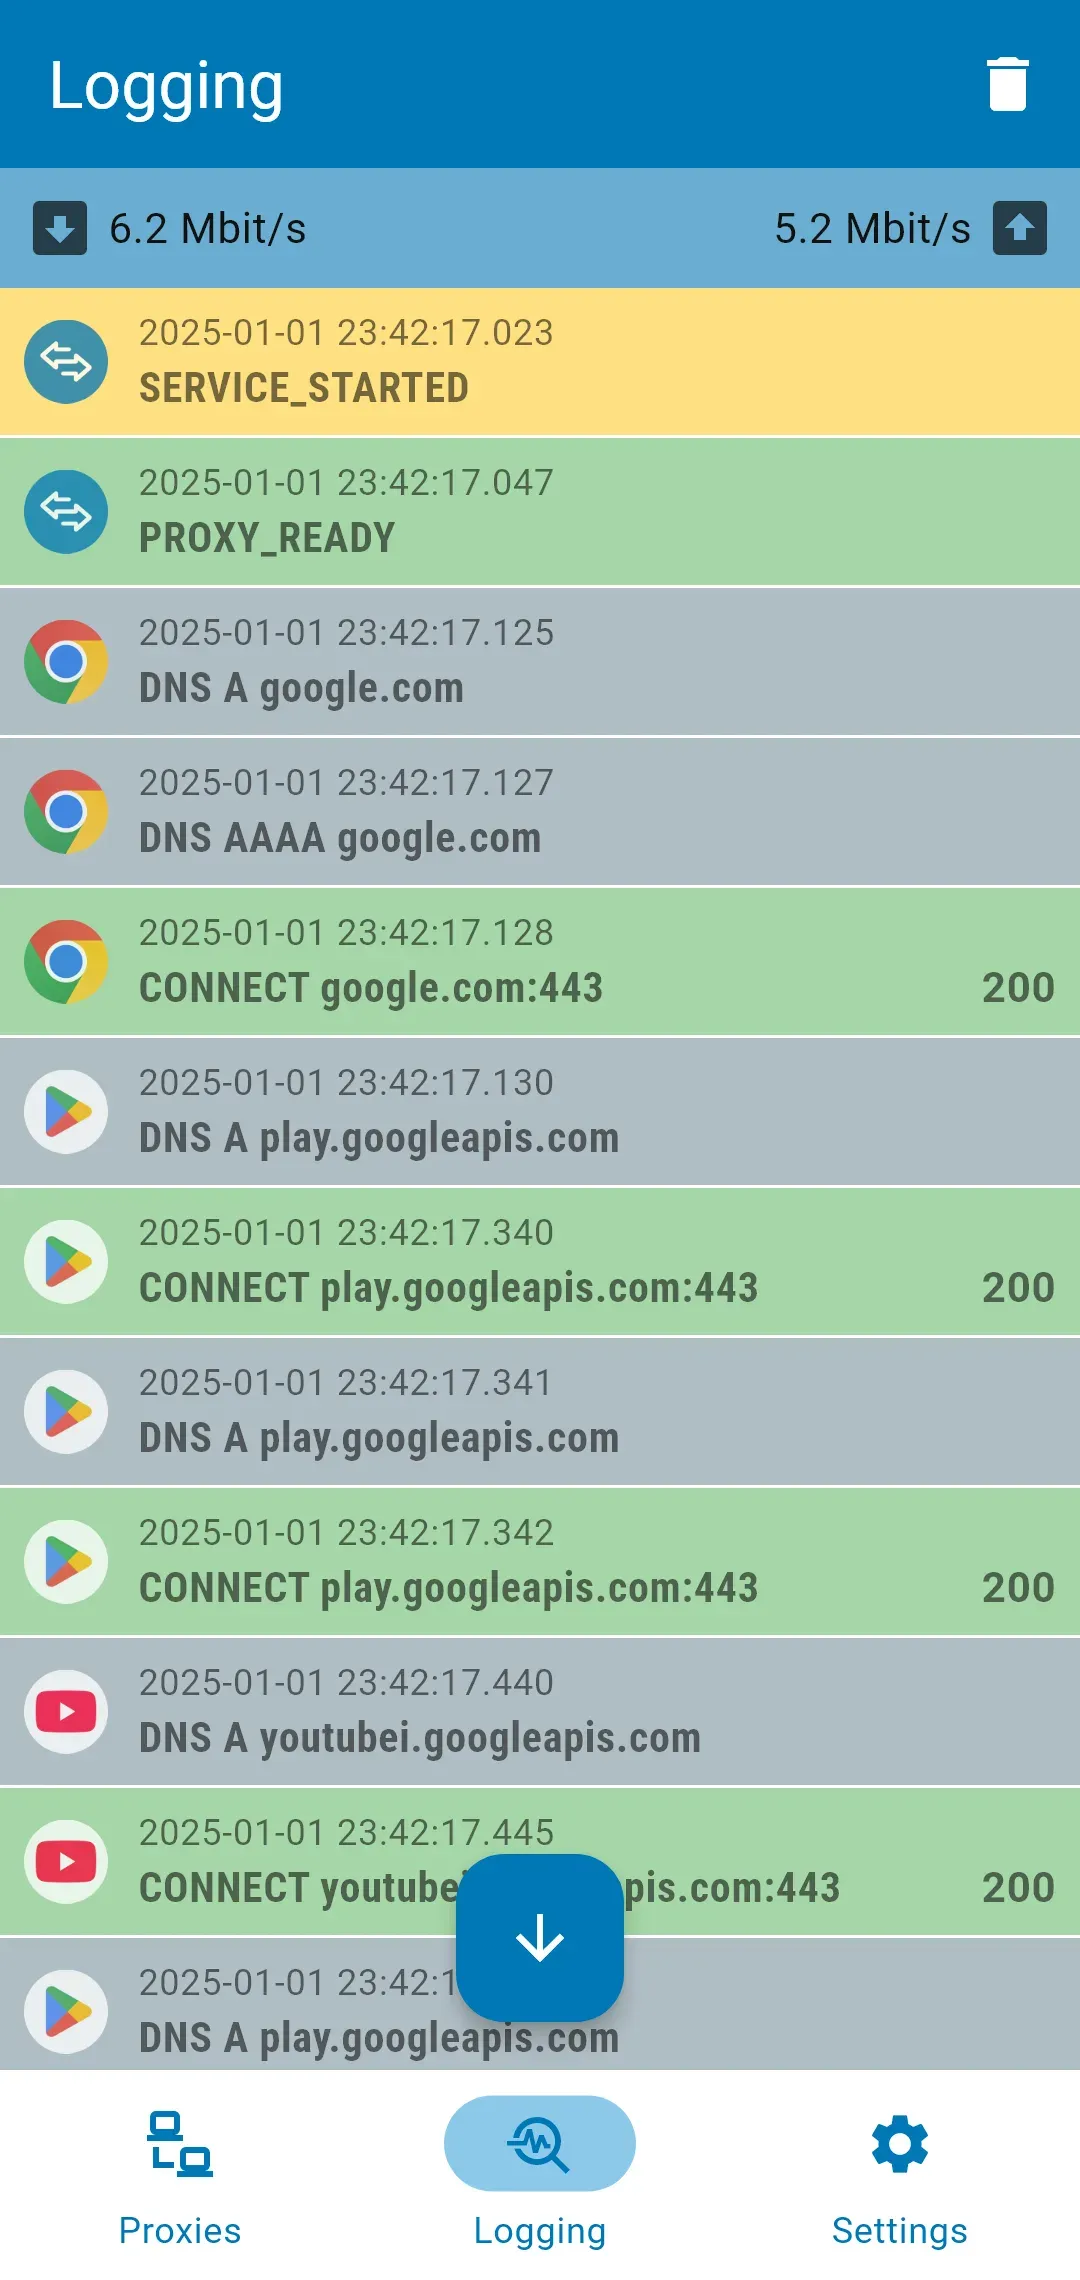
If Super Proxy exposes a log screen, open it after the verification test. Look for authentication failures, connection timeouts, DNS errors, or repeated reconnects. Logs are useful for diagnosis but can contain hostnames and other sensitive activity data.
When finished, return to Super Proxy and tap Stop. Confirm that Android’s VPN indicator disappears, then repeat the IP check once to verify that the phone has returned to its direct route.
How to Check Each SOCKS5 Configuration Field
When a profile will not connect, verify one field at a time.
| Field | Correct value | Common mistake | Verification |
|---|---|---|---|
| Protocol | SOCKS5 |
Selecting HTTP, HTTPS, SOCKS4, or Shadowsocks | Reopen the saved profile |
| Server | Hostname or IP only | Adding socks5://, a slash, or spaces |
Copy again from the provider dashboard |
| Port | SOCKS5 port as digits | Reusing an HTTP-only port | Check the endpoint documentation |
| Username | Proxy login or generated routing username | Using the dashboard email | Generate or copy proxy credentials |
| Password | Proxy-specific password | Using the website account password | Reissue credentials if uncertain |
| App routing | Target app included | Target app excluded by an app filter | Compare Chrome with the target app |
Readers searching for private internet access socks5 should note that PIA distinguishes normal account credentials from generated proxy credentials. Its current support documentation directs subscribers to generate SOCKS credentials in the Client Control Panel. Do not assume that a VPN username and a SOCKS5 username are interchangeable, and verify the current server and port in PIA’s official support pages before entering them in any Android client.
Fix SOCKS5 Problems on Android
Use the symptom to narrow the cause before changing multiple settings.
| Symptom | Likely cause | How to verify | Fix |
|---|---|---|---|
| The profile will not start | Another VPN holds Android’s VPN service | Look for another VPN or key indicator | Disconnect the other VPN and retry |
| Authentication fails | Wrong credentials, whitespace, or auth type | Recopy each field and inspect the log | Generate proxy credentials again; do not use dashboard login details |
| Connection starts but pages do not load | Wrong host or port, dead endpoint, or DNS failure | Test a second endpoint and review logs | Correct the endpoint or switch to a healthy provider-issued server |
| Browser IP does not change | Browser excluded, client not routing, or cached result | Test a private tab and a second IP site | Include the browser, restart the profile, and clear the stale tab |
| Chrome works but another app fails | Unsupported protocol, UDP behavior, or app exclusion | Compare the same public resource in both apps | Check app-filter settings or use an app that supports the required route |
| Connection drops in the background | Battery optimization or restricted background activity | Check Android battery settings and reconnect history | Allow necessary background operation for the trusted client |
| DNS shows the direct ISP | DNS is resolving outside the intended path | Compare proxy-off and proxy-on DNS tests | Enable the client’s remote/proxy DNS option if available, then retest |
| Speed is much lower | Distant or overloaded endpoint | Compare latency with one nearby endpoint | Choose a closer healthy server and avoid unnecessary chaining |
The Client Connects but the IP Does Not Change
First confirm that the profile is active, not merely saved. Open the app selector or routing rules and make sure Chrome is included. Then open a private tab and use two independent IP-check services. If both still show the direct IP, stop the client, remove and recreate the profile, and verify the protocol and port with the provider.
Authentication Keeps Failing
Type the values again without leading or trailing spaces. Confirm that the username is a proxy credential, not an email address or account-panel login. If the provider encodes country or session controls in the username, remove optional parameters until the base login works. Regenerate the password if the dashboard supports it.
The Connection Stops When Android Locks
Android may restrict background activity to save power. Open the system’s battery settings for the proxy client and allow the minimum background access required for a stable session. Menu names differ among Samsung, Google Pixel, Xiaomi, OnePlus, and other devices. Retest with the screen locked for five minutes instead of assuming the setting solved the problem.
Some Apps Still Use the Direct Connection
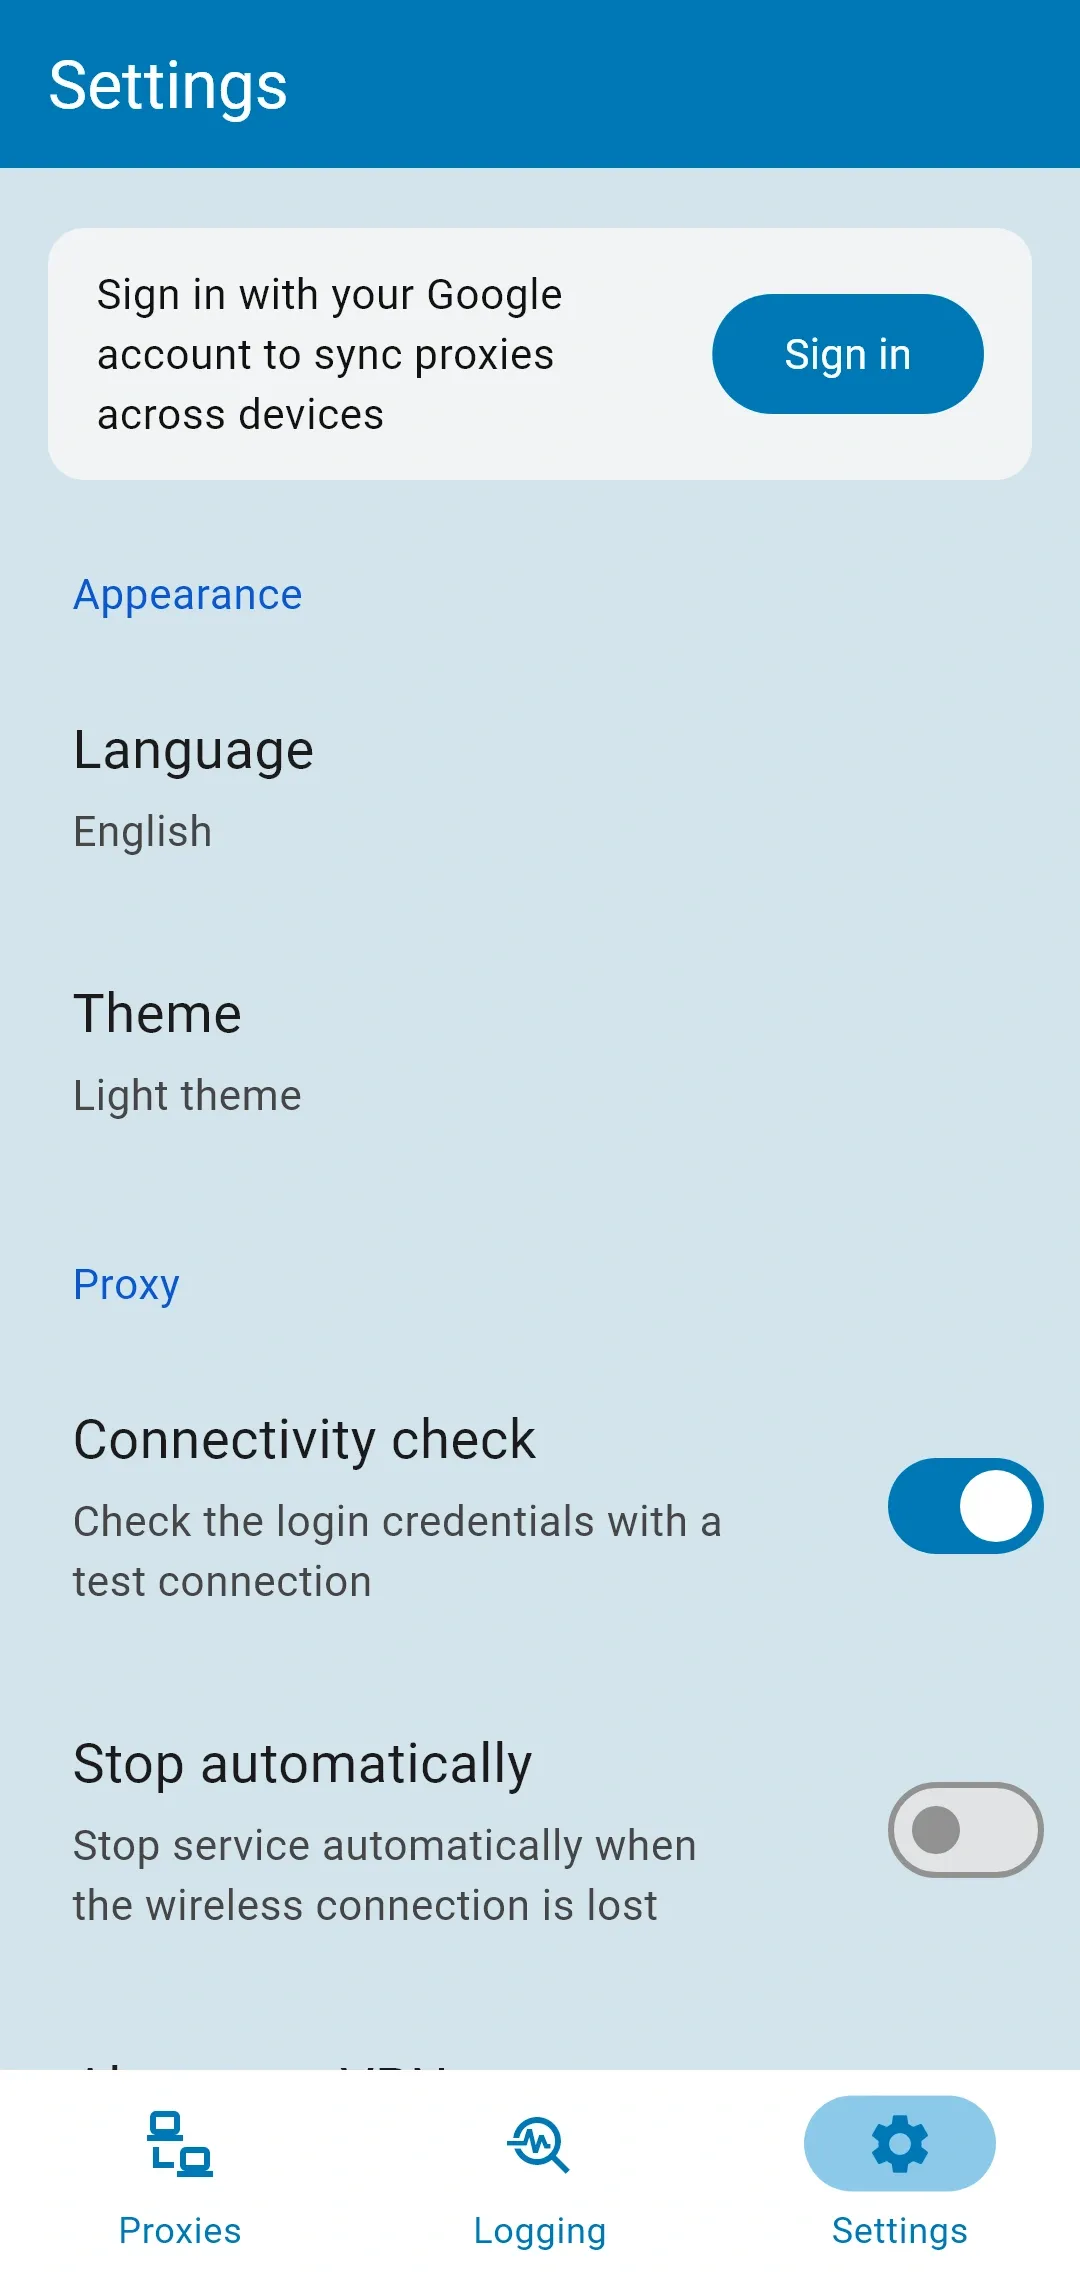
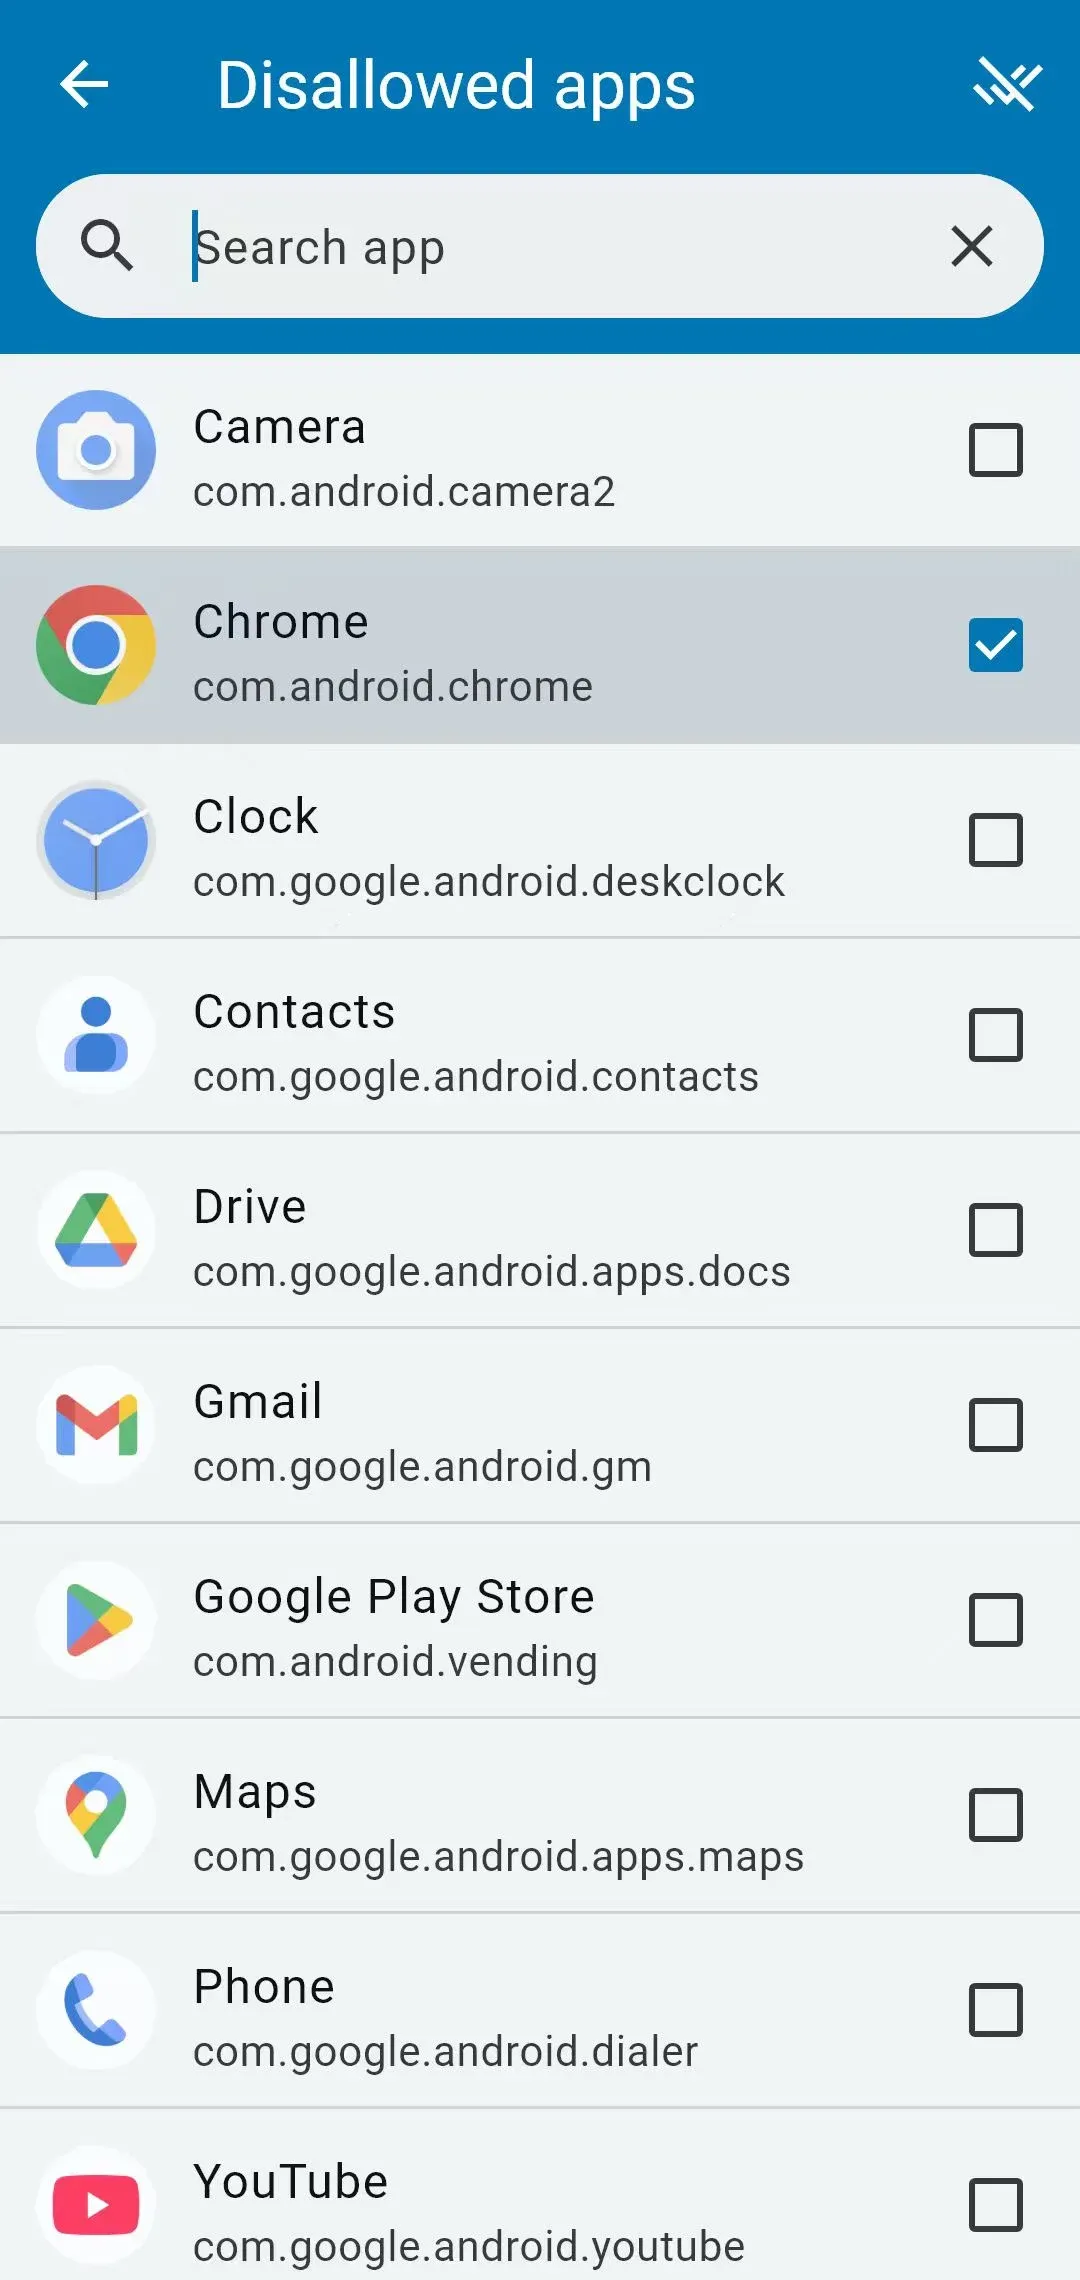
Check whether Super Proxy’s current build has an app filter and whether the affected app is excluded. Some applications use protocols or network behaviors that a particular SOCKS5 client may not handle. A changed browser IP is not proof of coverage for every Android app. Verify each critical app independently.
Security, Privacy, and Operational Limits
SOCKS5 is a routing protocol, not a complete privacy system. Keep these limits visible:
- No built-in traffic encryption: Use HTTPS or another end-to-end encrypted protocol.
- One local VPN service at a time: Android generally permits one active VPN service for a user or profile.
- Client trust matters: A local routing app occupies a sensitive position on the device.
- UDP support varies: SOCKS5 defines UDP relay behavior, but the Android client and provider must both implement it correctly.
- DNS needs separate verification: The public IP can change while DNS behavior remains unexpected.
- App coverage must be tested: Per-app exclusions, unsupported protocols, and vendor-specific Android behavior can change results.
- Terms still apply: Use proxies only where you have authorization and follow platform, network, and service rules.
For persistent work sessions, prefer a provider-issued stable endpoint, record the client and Android versions used, and retest after app or operating-system updates. A screenshot is evidence of one tested state, not a permanent guarantee.
Conclusion
Android needs a SOCKS5-aware client for broad no-root routing because its normal Wi-Fi proxy screen is not a native SOCKS5 configurator. With a trusted app, the working sequence is straightforward: enter the provider’s host, port, and proxy credentials; approve Android’s VPN request; verify the exit IP and DNS; test each important app; and review logs when results differ.